 |
| Before |
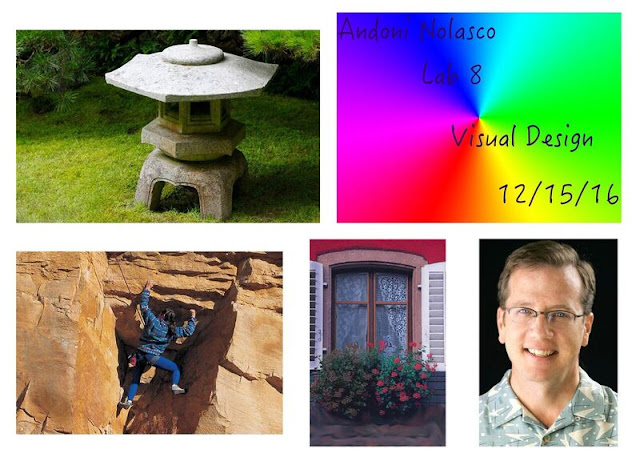
In this lab i had to use various editing tools to edit images that contain flaws, which doesn't make it as pleasant. the objective of this lab was to get used to using editing tools to change an image to a desired from in order to make it more appealing to the human eye. In the beginning i had four images that contained a flaw that had to be fixed either using the editing tools. The first image was of a shrine and in the corner was a gray spot and there were two white stones that had to be removed. for this image i had to use the healing brush tool in source mode. before selecting the desired area I first had to select a sample area in order to let the area blend in. to do that you have to click the option button while right clicking on the mouse. afterwards all that is left is to cover the grey parts, but the sample must be similar to the area around the flawed part, so it isn't obvious that it was photo shopped.
 |
| Before |
The next image edited was of a rock climber, and the flaws of this image were the sort of bullet holes in the wall and the dj graffiti on the wall. in order to remove them I used the patch tool in either source or destination mode. next to use the tool you select the desired area by creating a connected shape around it and then deleting it in content aware mode so it will be covered with what would be there naturally.
 |
| Before |
next we have an image of a window and there wasn't any thing flawed in this image, but we edited it anyway in various ways. first using the rectangular marquee tool I selected the top part of the image where there was a blue wall. next I replaced the color to red by going into adjustments > color replacement, and selecting the wall. then for the left side f the shutter I used the burn tool to darken the left shutter and for the right shutter I used the dodge tool which brightens. the same concept is used to the roses t the bottom of the window; using the sponge tool I saturated the right side and desaturated the left side. afterwards using the blur tool I blurred the left side of the window and sharpened the right side using the sharpen tool. finally using the blur tool I blurred the tiles at the bottom of the image.
 |
| Before |
the last image was of a man and he had wrinkles most likely because of his age. to get rid of the wrinkles I used ether the heling bruh or the spot healing brush tool. all that had to be done for this one was also select a sample, but then kind of "paint" over the wrinkles which made them disappear.
 |
| After Editing the images |


Comments
Post a Comment